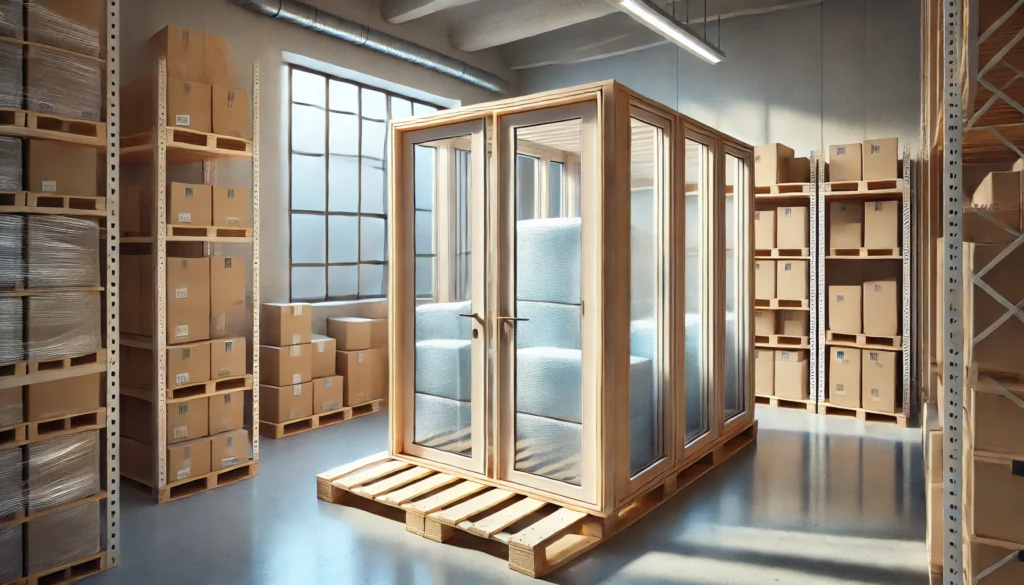
Windows are a significant investment for any home or building, adding light, ventilation, and style. Whether you’re renovating, building from scratch, or storing replacement windows for future use, proper storage is essential. Incorrect storage can lead to damage like warping, cracking, or other costly issues that undermine your investment. This guide provides practical, easy-to-follow tips on how to store your windows safely and effectively, ensuring they remain in excellent condition until you’re ready to install them.
1. Why Proper Window Storage Matters
Proper window storage is crucial because windows are more than just glass—they’re complex systems with frames, seals, and sometimes moving parts. Improper storage can lead to damage from moisture, temperature changes, or physical impacts. By storing your windows correctly, you protect them from these risks and preserve their quality and functionality for future use.
2. Inspect Windows Before Storing Them

Before storing your windows, inspect them carefully. Look for any damage like cracks, warping, or faulty seals. Addressing these issues beforehand prevents them from worsening during storage. If a window is already damaged, storing it without fixing the problem could render it unusable later.
Pro Tip: Create a checklist for your inspection: check the glass panes, frames, seals, and hardware. A thorough inspection now can save you from unexpected issues down the line.
3. Clean Your Windows Thoroughly
Clean your windows before storing them to avoid scratches and stains. Use a mild cleaning solution and a soft cloth to clean the glass and frames. Avoid harsh chemicals or abrasive tools that could damage the surface or seals.
Pro Tip: Make sure the windows are completely dry before storing them. Any moisture left on the windows can lead to mold or mildew growth, especially if stored in a damp environment.
4. Choose the Right Storage Location
Selecting the right storage location is crucial. Store your windows in a dry, well-ventilated space with stable temperatures. Avoid areas prone to dampness, such as basements or outdoor sheds, unless they are well-sealed against moisture.
Pro Tip: Use a humidity monitor in your storage area to keep track of moisture levels. Keeping humidity consistent will help protect your windows from warping or other damage.
5. Store Windows Upright, Not Flat
Never store windows flat. Storing them on their sides or edges helps distribute their weight evenly, reducing the risk of warping or breaking. Place them upright and slightly angled against a wall for the best support.
Pro Tip: Place soft padding or foam between the windows and the wall to prevent scratches and absorb any impacts. Ensure the storage surface is stable to avoid any accidental tipping.
6. Elevate Windows Off the Floor

Don’t store windows directly on the floor. This can expose them to potential damage from moisture, dirt, or pests. Use pallets, foam blocks, or other materials to keep them off the ground, which also helps with air circulation.
Pro Tip: Ensure the supports are sturdy and evenly distributed to avoid putting pressure on any one part of the window.
7. Protect the Glass with Padding
Glass is the most fragile part of a window, so it’s important to protect it during storage. Use padding materials like bubble wrap, foam sheets, or blankets to cover the glass. Avoid plastic covers directly on the glass as they can trap moisture and cause damage.
Pro Tip: When storing multiple windows, place padding between each one to prevent scratches or breakage from movement.
8. Label Windows for Easy Identification
If you’re storing multiple windows, labeling each one can save time and confusion later. Use durable labels or tags that won’t easily fall off, noting important details like size, type, or the intended room.
Pro Tip: Include specific installation notes on the labels if applicable, such as “north-facing” or “bathroom window,” to streamline the installation process.
9. Keep Hardware and Accessories Together
Windows often come with specific hardware like screws, brackets, or handles that are essential for installation. Keep all these components together in labeled bags or containers to prevent loss.
Pro Tip: Take photos of the hardware and installation instructions. These references will be invaluable if you need to troubleshoot or confirm the setup during installation.
10. Regularly Check Your Stored Windows
Don’t just store your windows and forget about them. Regularly check on their condition to catch any signs of moisture, pests, or damage. Regular inspections can help you address minor issues before they turn into costly problems.
Pro Tip: Schedule checks every month or quarter, and keep a simple log of your observations. Early intervention is key to protecting your windows.
11. Manage Temperature and Humidity
Extreme temperatures and humidity can damage windows, especially those with wooden frames. Ideally, store windows in a climate-controlled environment to maintain consistent conditions. If climate control isn’t an option, at least avoid direct sunlight and areas with extreme temperature swings.
Pro Tip: Use dehumidifiers in particularly damp storage areas, and consider portable climate control solutions if possible.
12. Avoid Stacking Windows
Stacking windows can lead to damage, especially if they’re heavy or have fragile frames. If space is limited, consider using racks designed for window storage, which allow windows to be stored upright and separated from each other.
Pro Tip: If you must stack, place padding between each window and limit the stack height to prevent excessive pressure on the lower windows.
13. Secure Windows to Prevent Movement
Windows stored in areas with high traffic or vibrations are at risk of shifting or tipping over. Secure them with straps, braces, or storage racks to prevent accidents. Stability is key to avoiding damage during storage.
Pro Tip: Check the stability of your stored windows regularly, especially after moving items around the storage area. Even slight shifts can loosen your setup over time.
14. Protect Against Pests
Pests like rodents and insects can wreak havoc on stored windows, chewing through seals or nesting in frames. Keep your storage area clean and use pest deterrents to protect your windows from damage.
Pro Tip: Look for signs of pests, such as droppings or chew marks, and address infestations immediately to prevent long-term damage.
15. Plan for Safe Transportation
If your windows will eventually be moved, plan for safe transportation. Use blankets, straps, and proper supports to secure the windows during transit, keeping them upright and cushioned against impacts.
Pro Tip: Consider professional movers if you’re transporting a large number of windows or particularly delicate items. They have the tools and experience to move windows safely.
16. Consider Professional Storage Options
If you lack space or optimal storage conditions, consider renting a professional storage unit. Many facilities offer climate control and added security, which can give you peace of mind that your windows are well-protected.
Pro Tip: When choosing a storage facility, look for one with good reviews, climate control, and security features like surveillance cameras and restricted access.
17. Prepare for Installation Ahead of Time
When you’re ready to install your windows, preparation is key. Make sure the installation site is clean, dry, and ready for the windows. This reduces the time windows spend out of storage, minimizing their exposure to potential damage.
Pro Tip: Gather all necessary tools and review installation instructions ahead of time to ensure a smooth, efficient installation process.
Conclusion
Properly storing windows is a straightforward but crucial process that protects your investment and ensures they remain in top condition until installation. From choosing the right storage location to inspecting and padding your windows, each step is designed to prevent damage and maintain the quality of your windows. By following these tips, you can rest easy knowing that when it’s time to install your windows, they’ll be just as good as the day you stored them. Remember, a little effort now can save you a lot of trouble—and money—later.


